Add an additional email account to ketl
Ketl allows you to connect an unlimited number of email accounts to its platform to manage your emails and attachments.
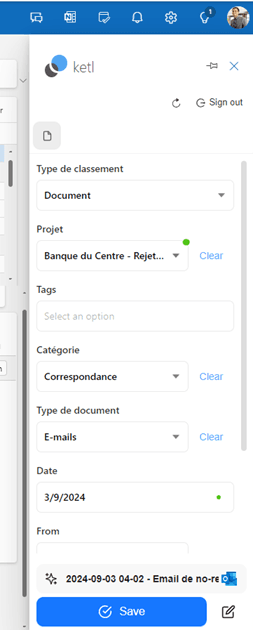
Correctly connecting your email account to ketl also gives you access to the ketl Outlook add-in. The ketl add-in allows you to categorize emails and attachments directly from Outlook, as well as quickly send attachments to your clients and colleagues.
By default, when you activate your account, your personal email account (linked to the Microsoft account used to log in) will be automatically configured to work with ketl.
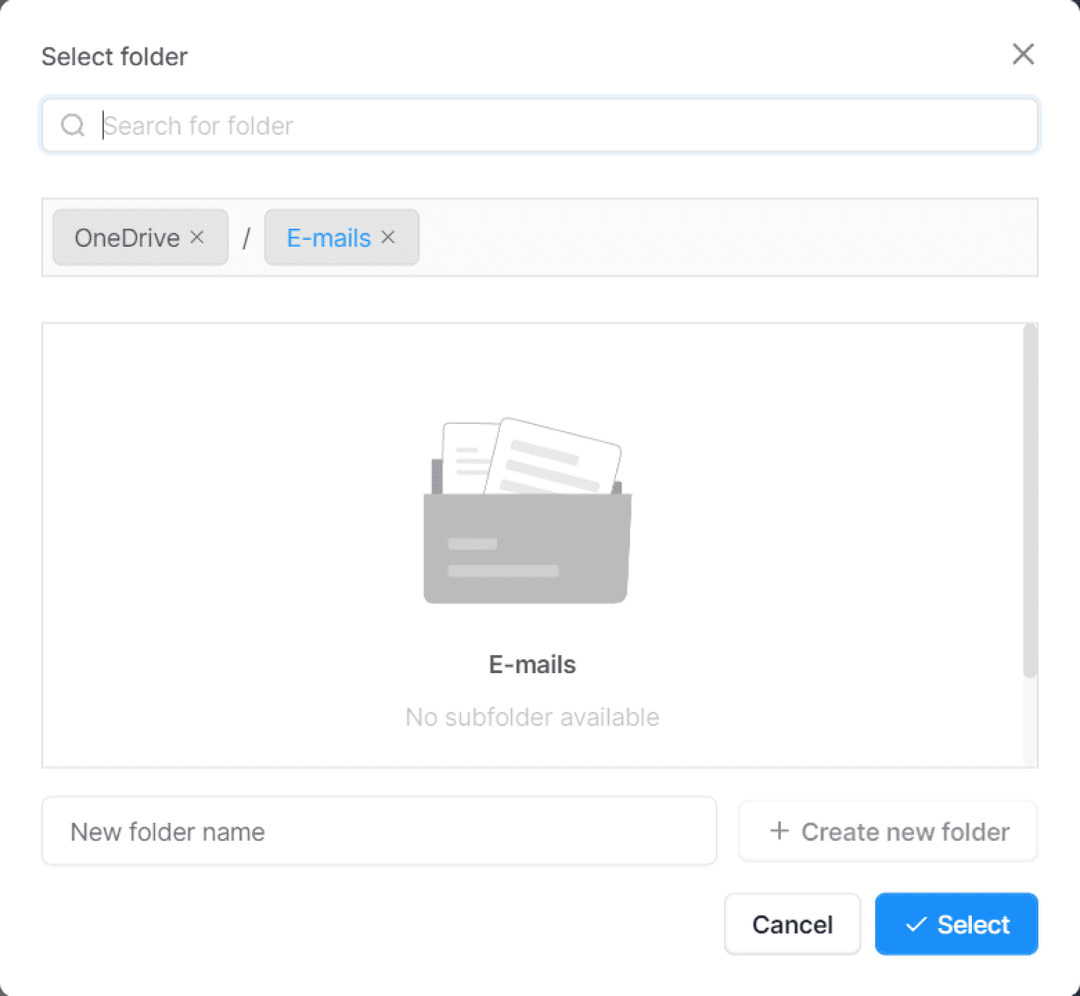
When an email account is connected, ketl will periodically process incoming and outgoing emails and attachments. When an email is processed, it is temporarily stored in a directory defined at the time of adding the account.
By default, emails from your personal account are stored in your personal OneDrive. Your emails will only be visible to your colleagues when you choose to categorize them in a storage they have access to.
We will cover 3 situations here:
Prerequisites:
- Have access to the desired email accounts (check with your IT if in doubt)
- Have any required passwords available (especially if you want to add a mailbox linked to an additional Microsoft account)
Add your personal email account
Ketl assumes that users have a named Microsoft account provided by their company. Each account typically has a personal address (e.g., “first.last@company.com”).
This address is automatically connected by ketl when your account is activated.
If you encounter the message “Email setup missing” when opening the ketl add-in, follow these steps:
Go to "Settings"
1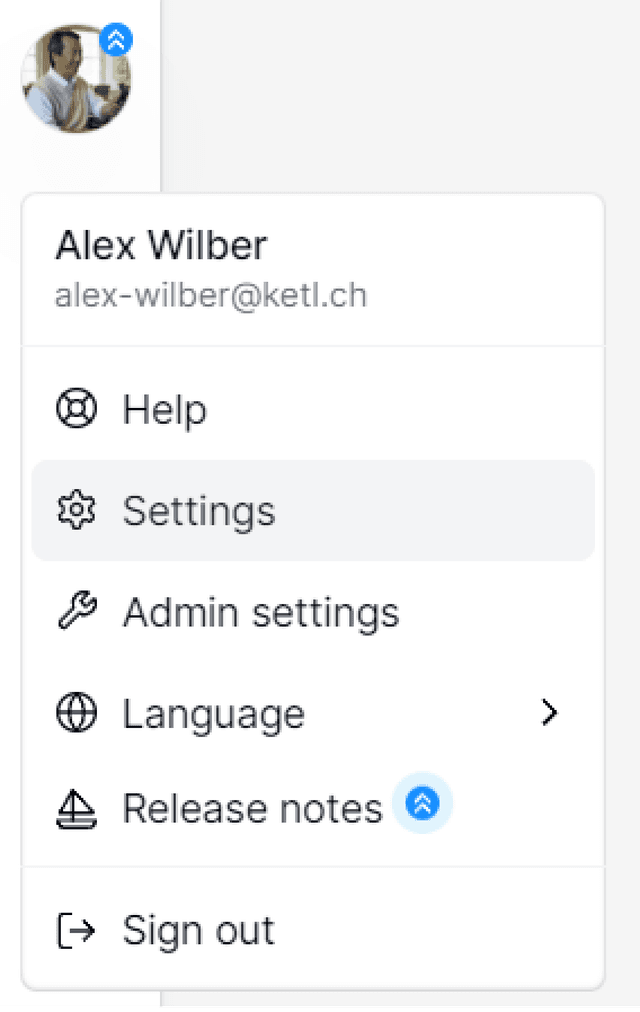
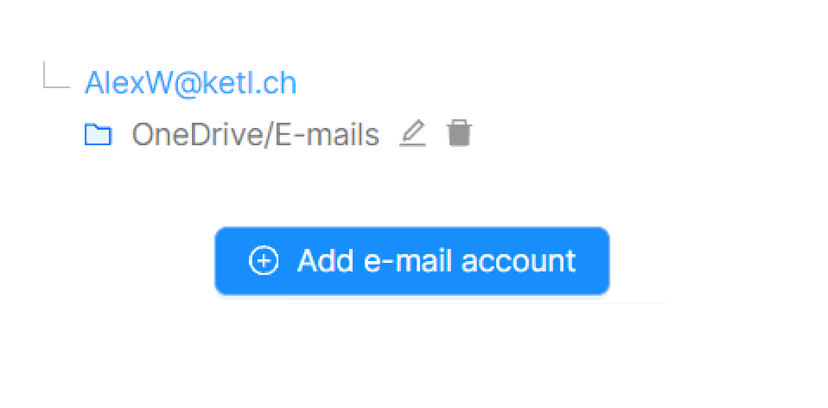
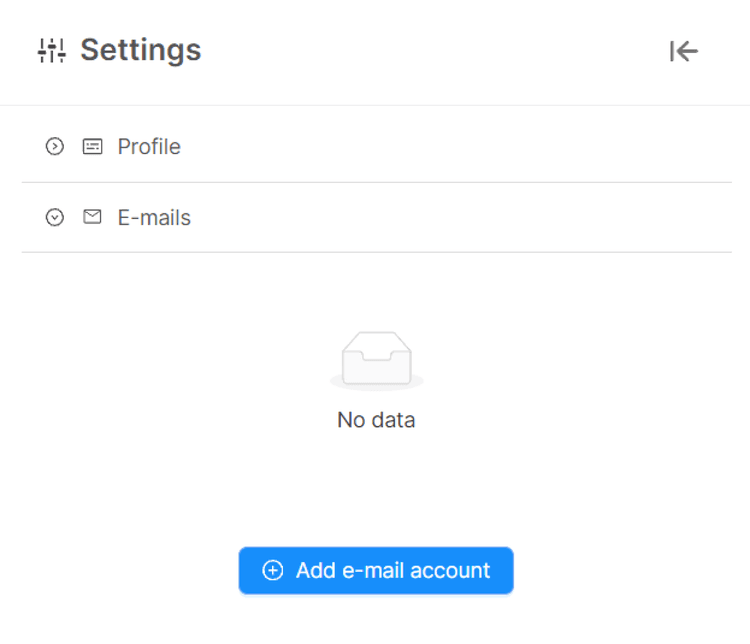
Go to "Emails"
2Verify that your email is not listed. If it is not, click on “Add email account” which will open a pane with a few steps to follow.
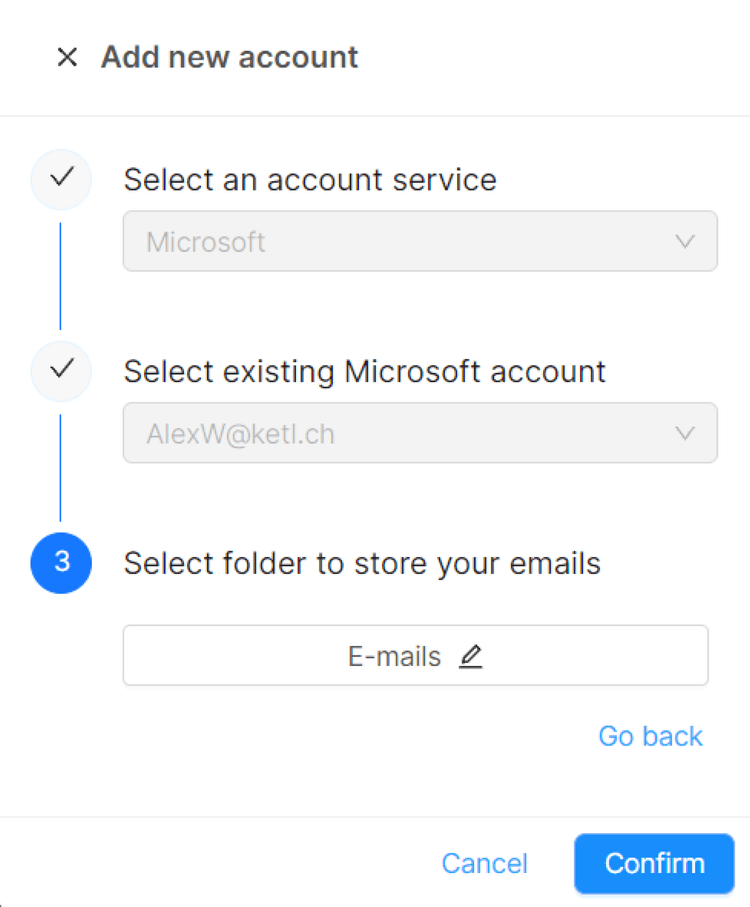
Ensure that your Microsoft account is selected and then go to “Select a directory to store your emails”
Add a shared mailbox
Go to "Settings"
1Go to "Emails"
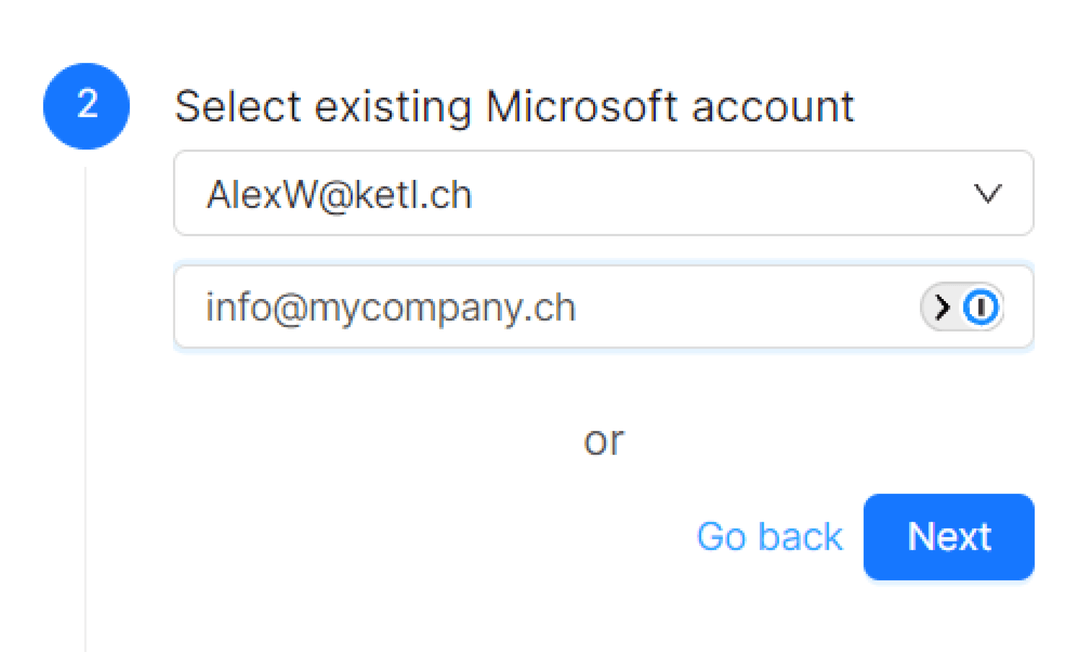
2Click on “Back” to return to step 2.
Select the Microsoft account that has access to the shared mailbox.
Add a mailbox from another Microsoft account
In some situations, it might be useful to connect multiple Microsoft accounts to the same ketl account. Here’s how to do it.
Go to Settings, then the “Connections” section
1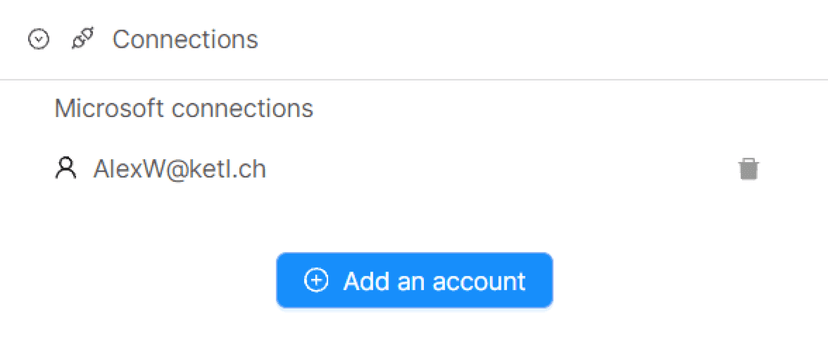
Click on “Add an account”, then choose “Microsoft Business”. Follow Microsoft’s instructions to connect the account.
2Follow the same steps as to add a personal email folder
3